Third-Point Arm
Third-point arm is a bar to provide lateral support, normally used when vertically machining large jobs.
To access it, open "Add New Component To The Current Clamp" menu
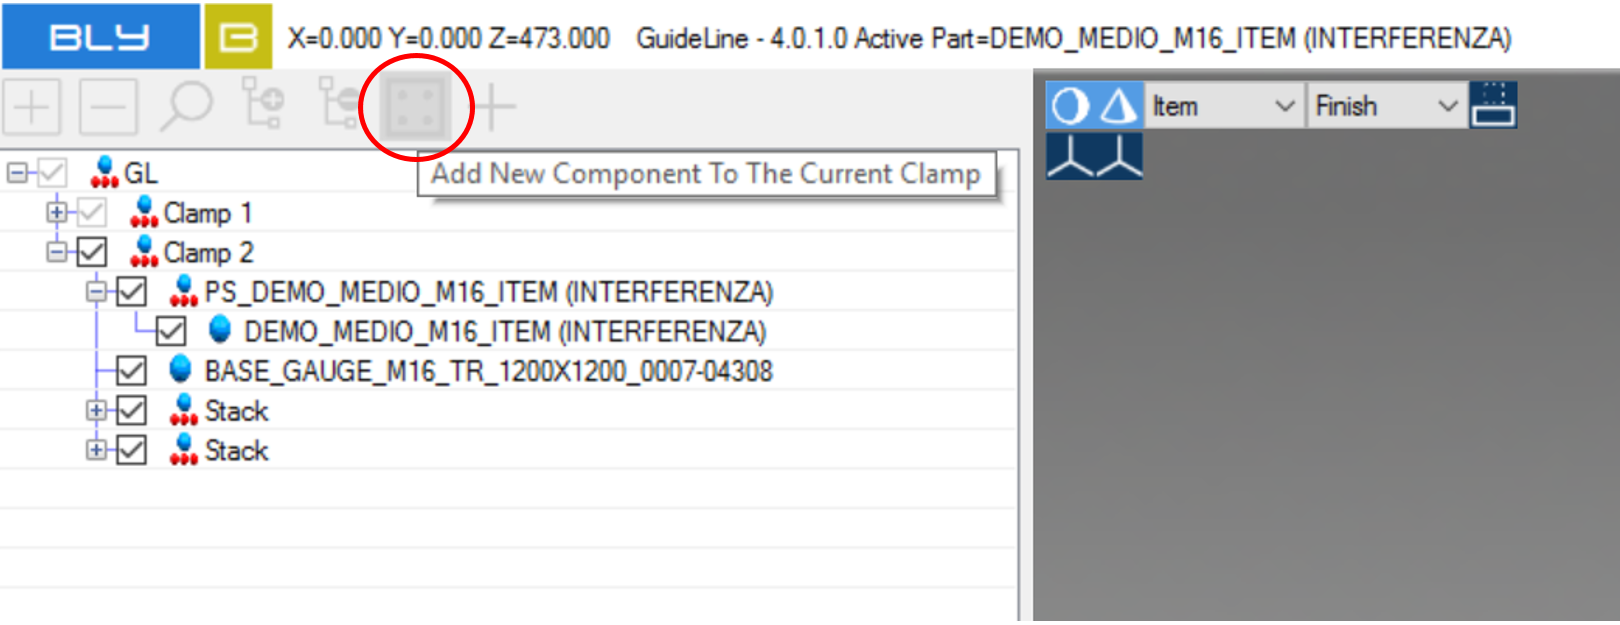
and then go to the "Third Points" tab to select the appropriate arm to be added.
While adding the third-point arm it's possibile to modify the library with additional arms and/or remove the ones present already by clicking ![]() (see chap. customise library).
(see chap. customise library).
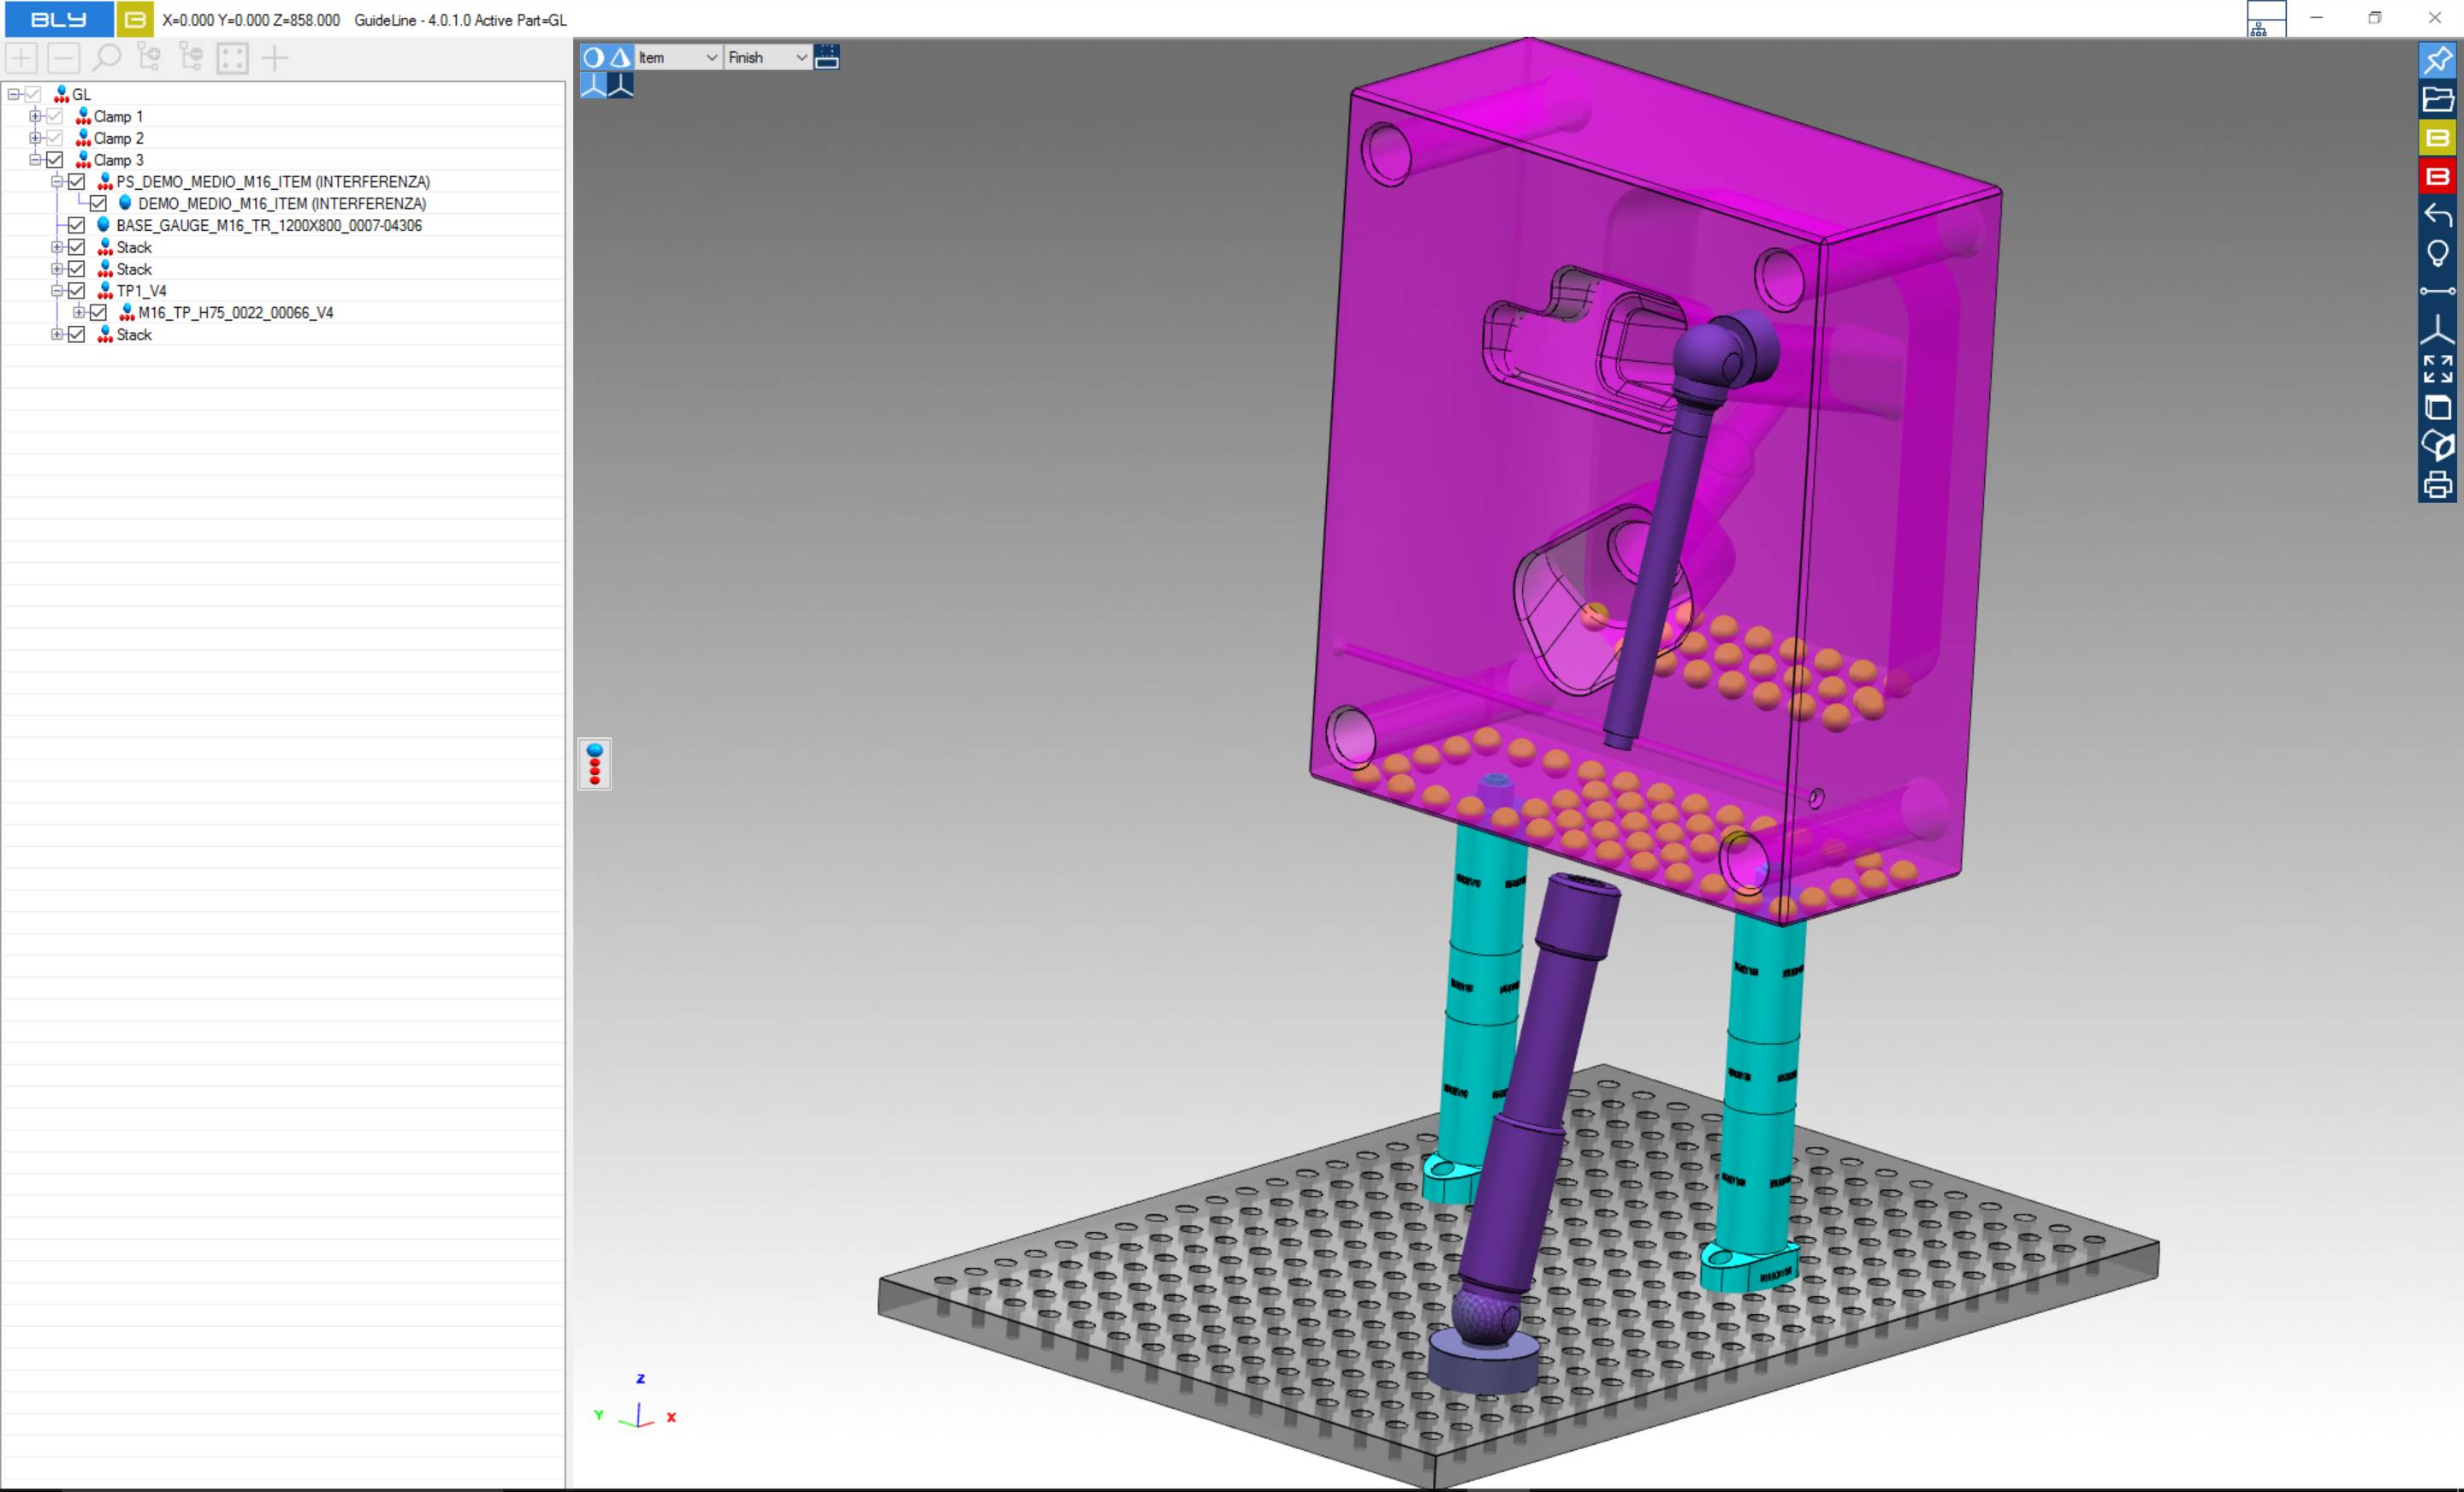
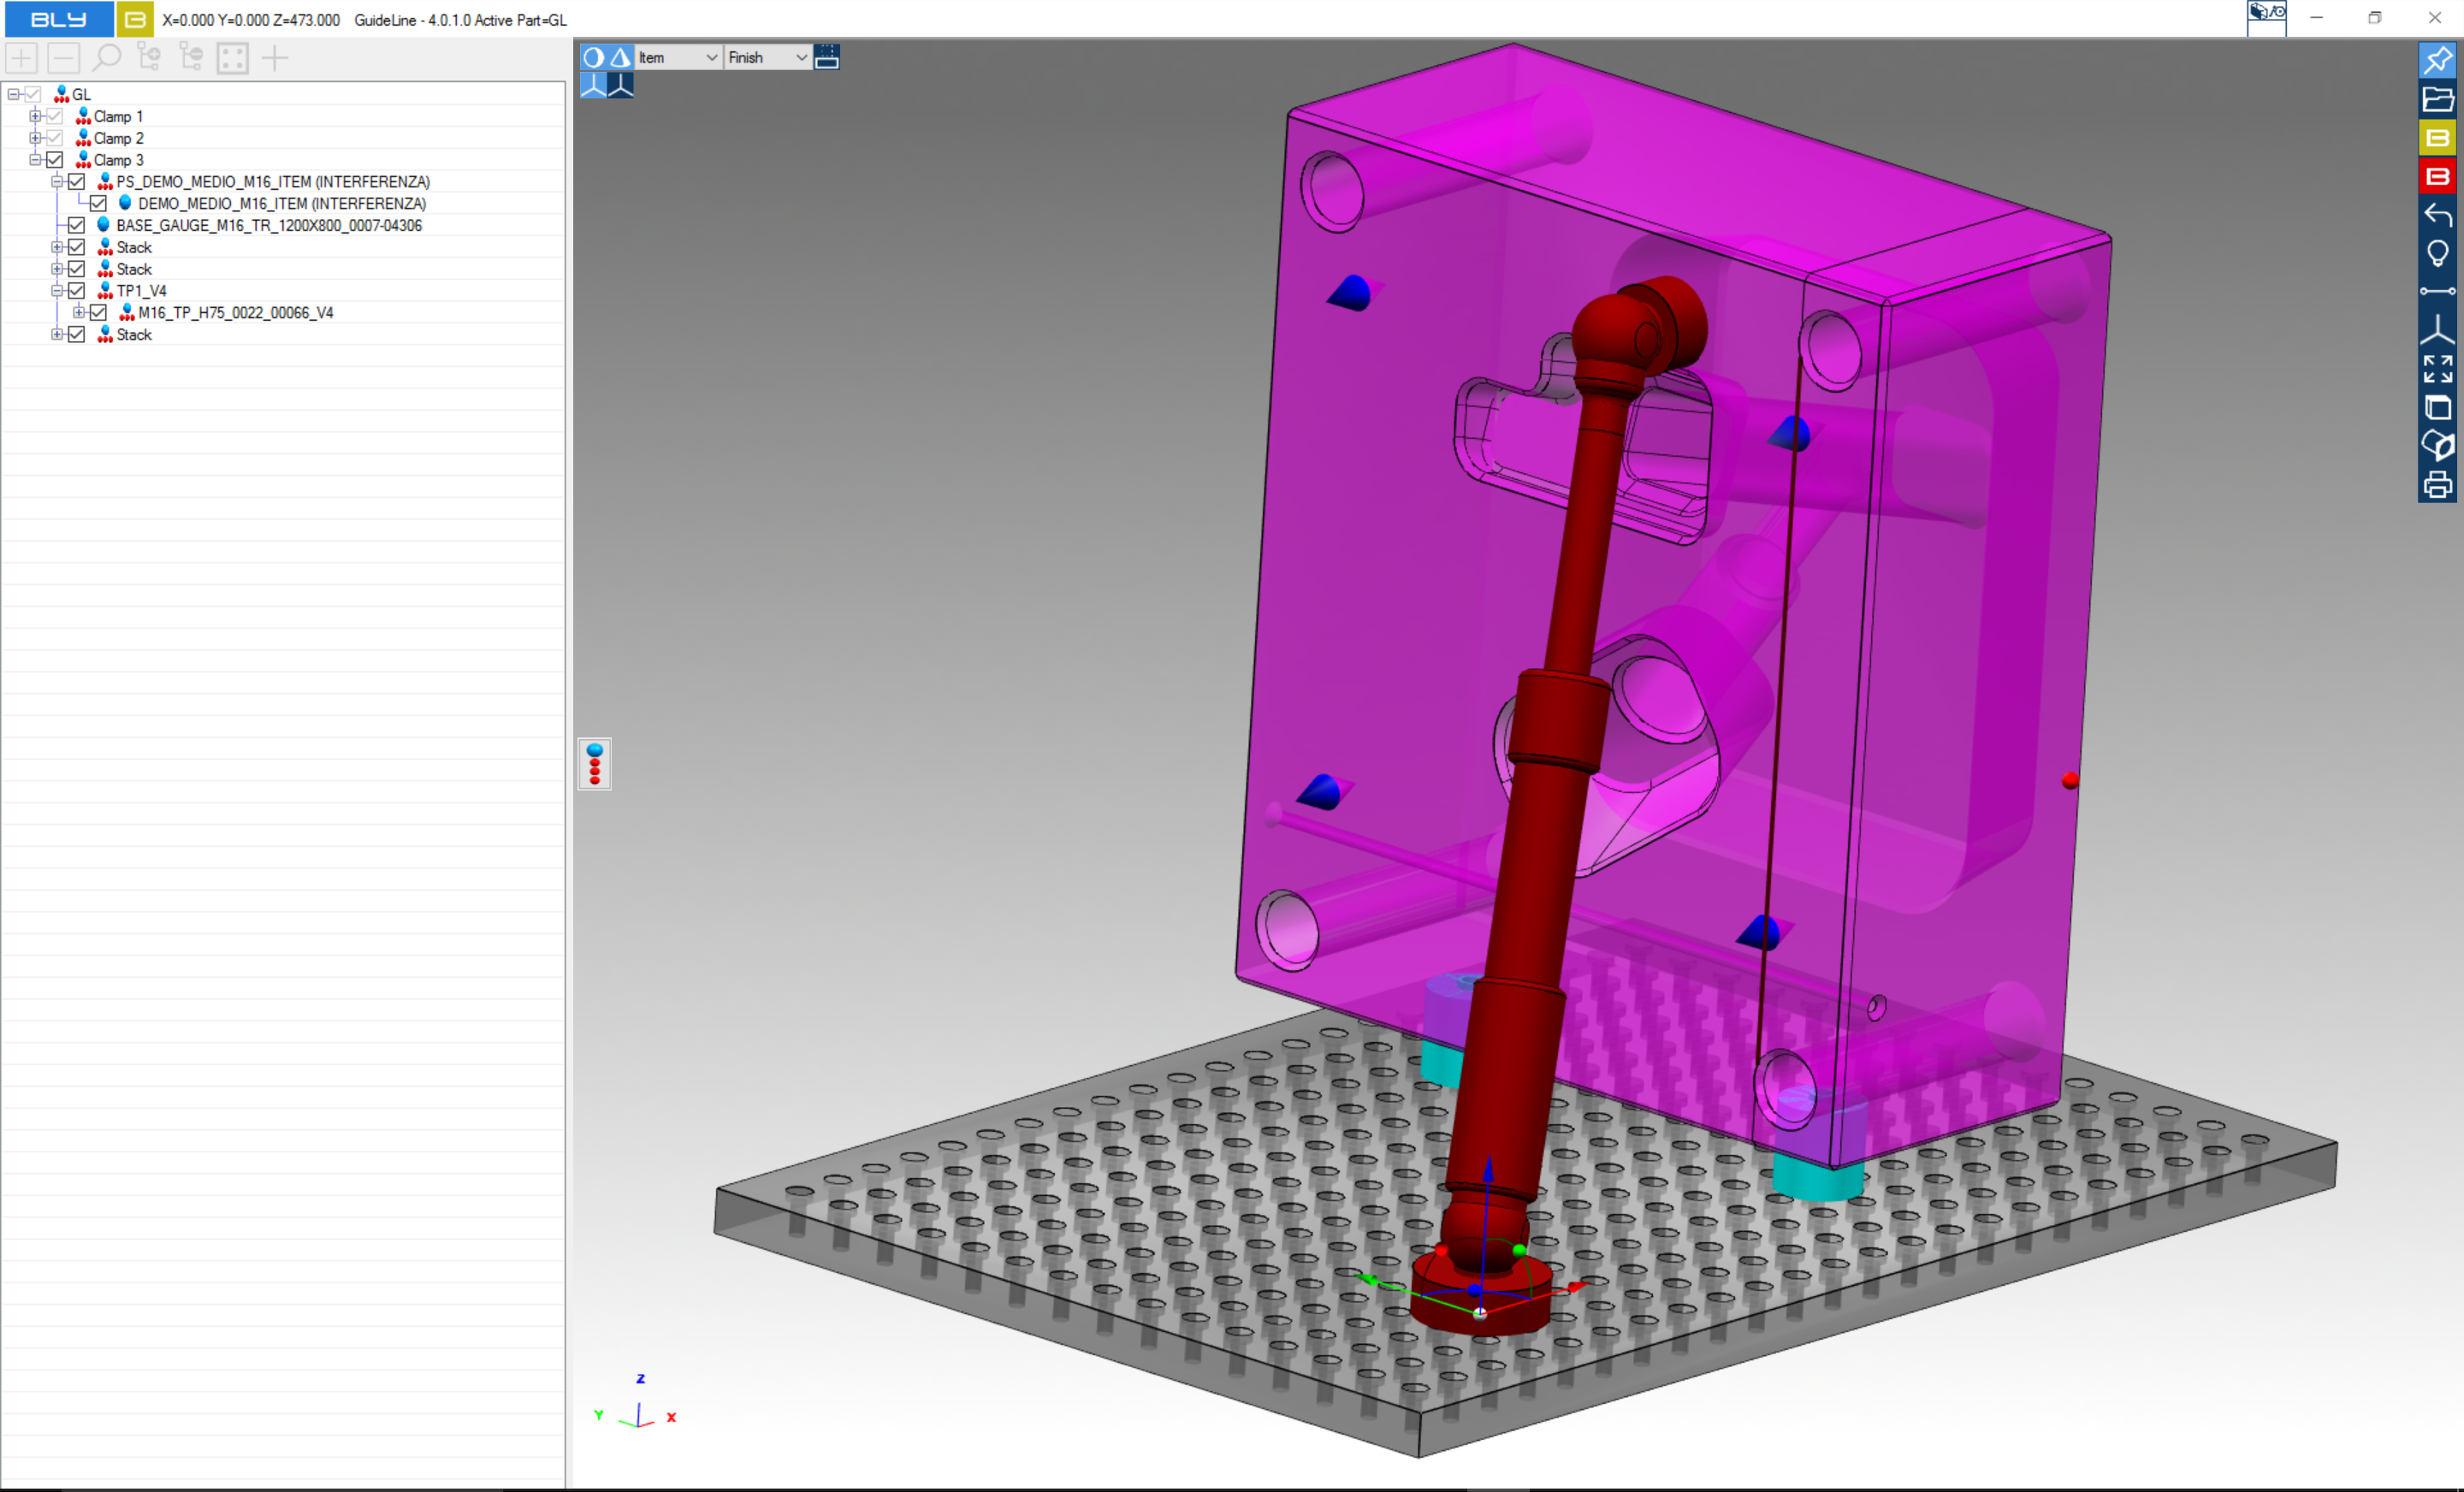
Once selected, the arm is first placed in the center of the table.
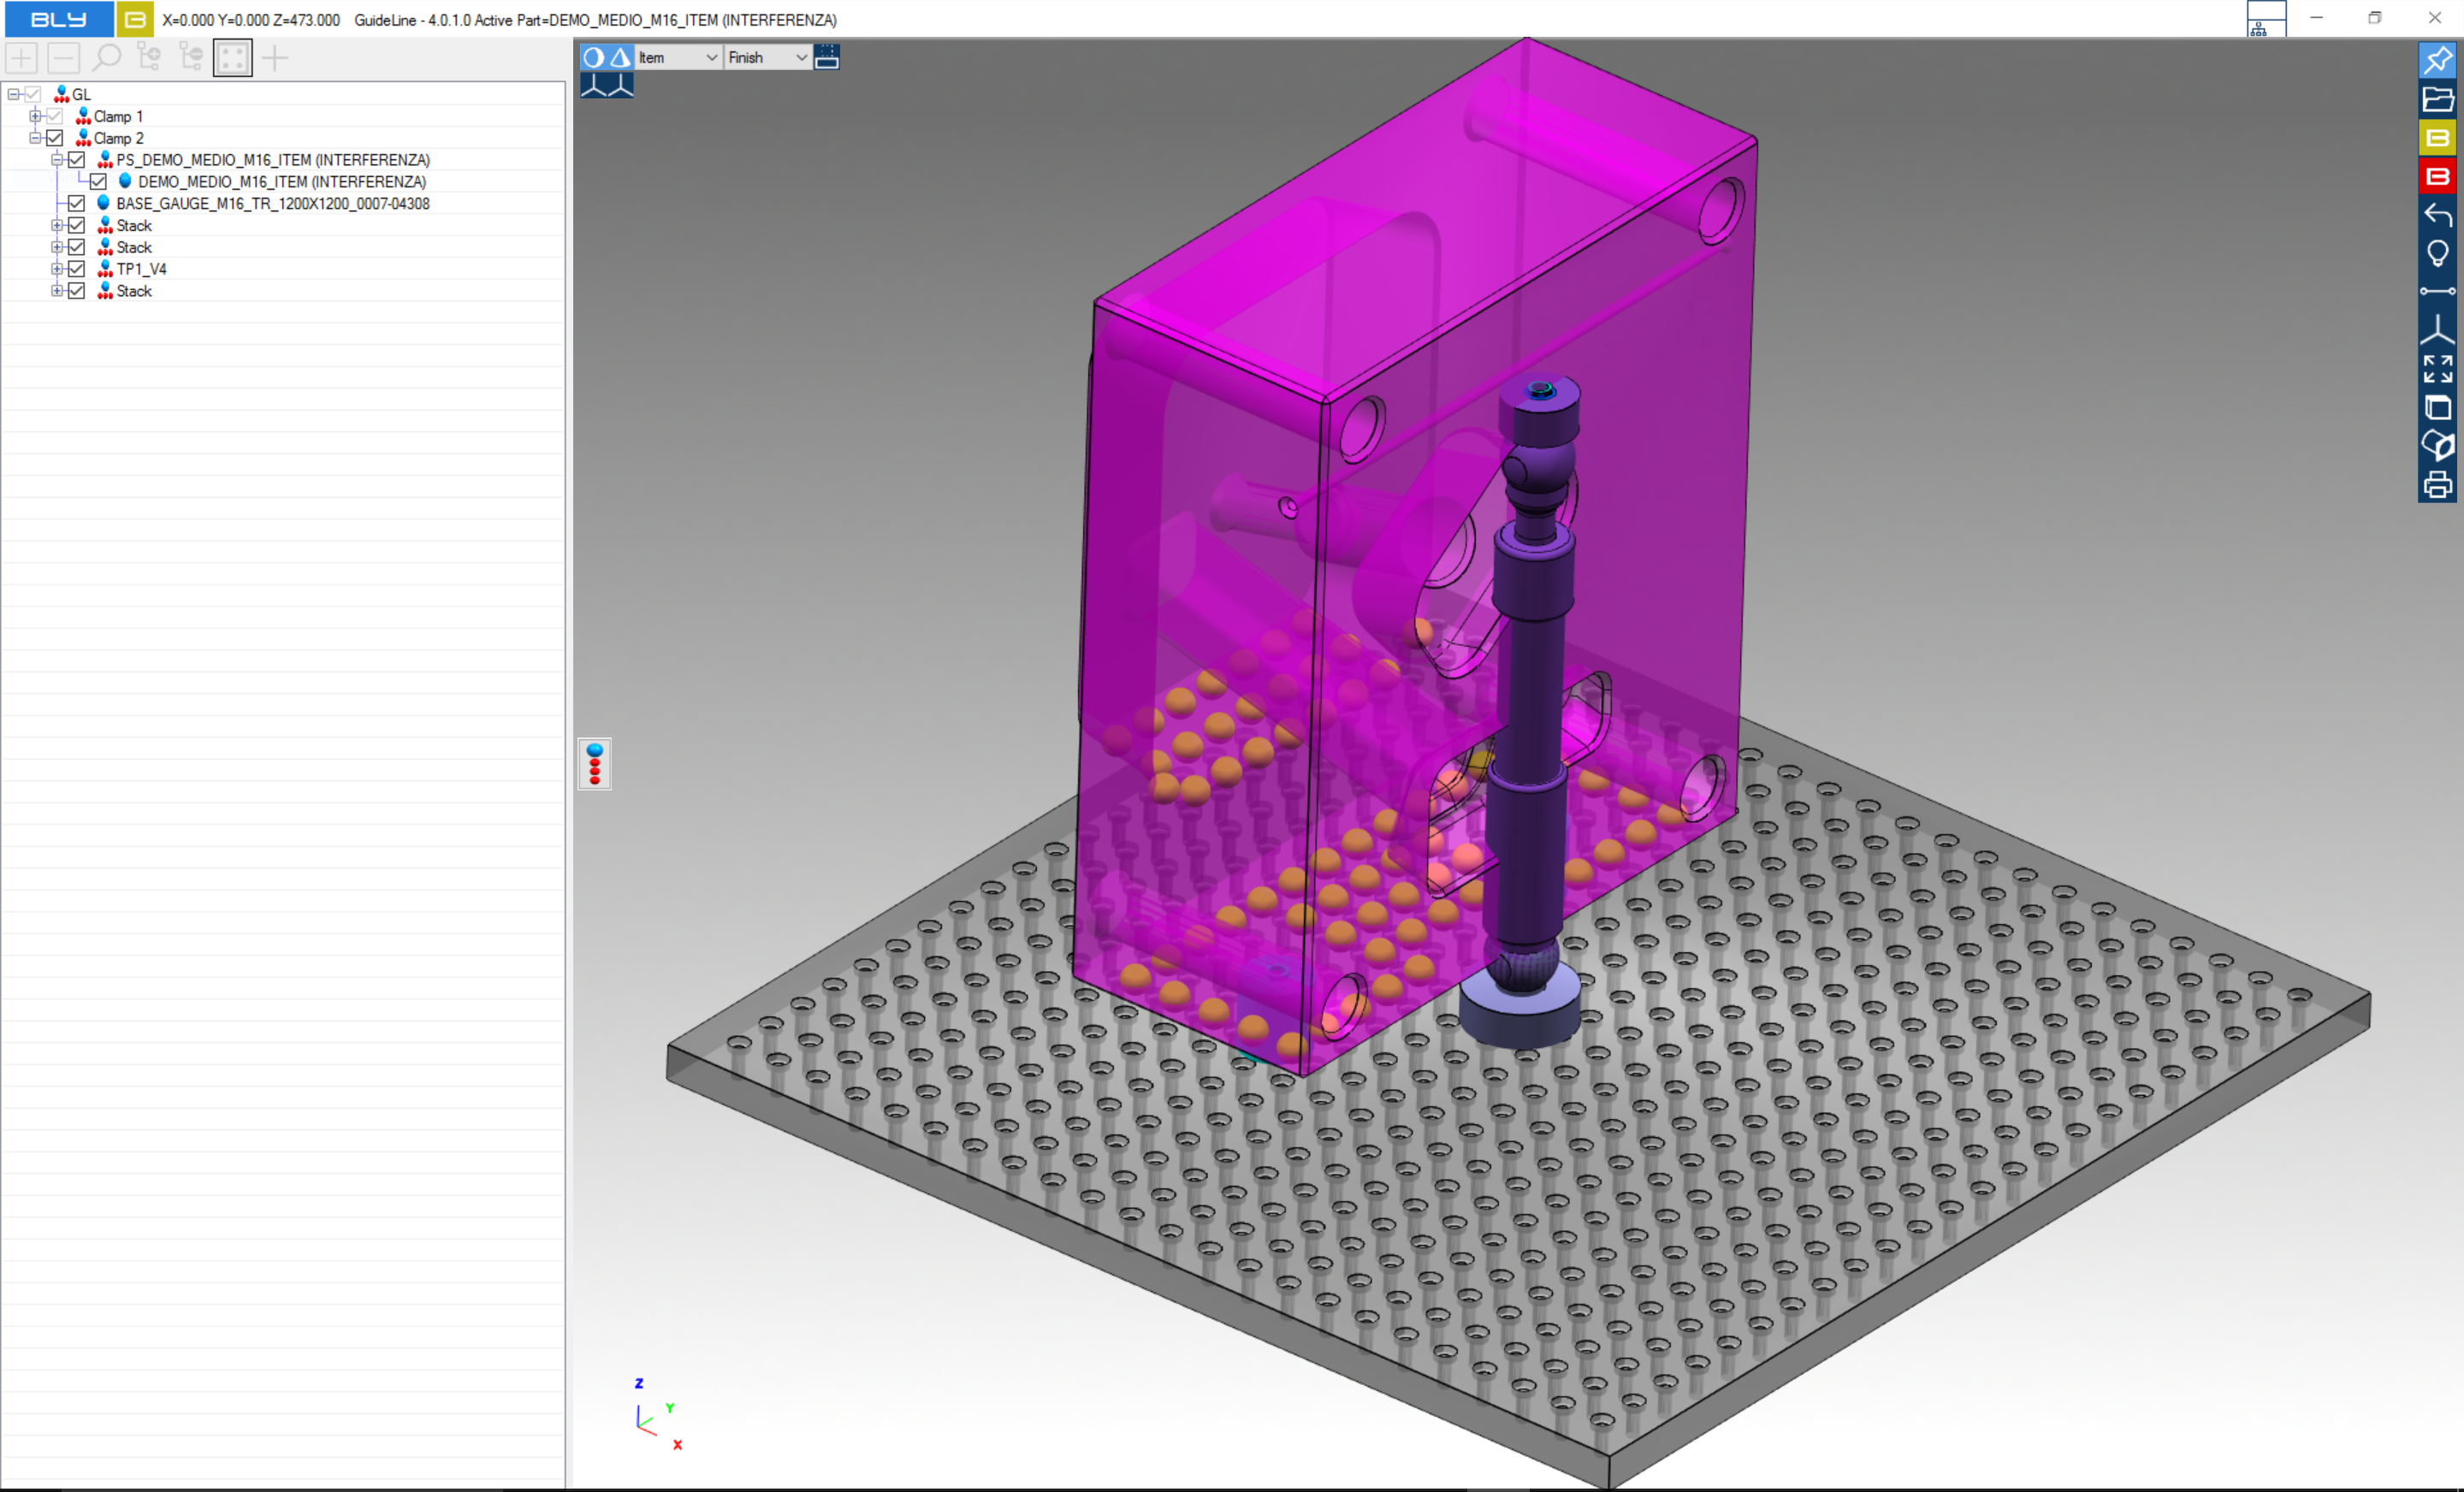
To reposition the arm, click on it and it can be dragged along the table and raised up, if needed.
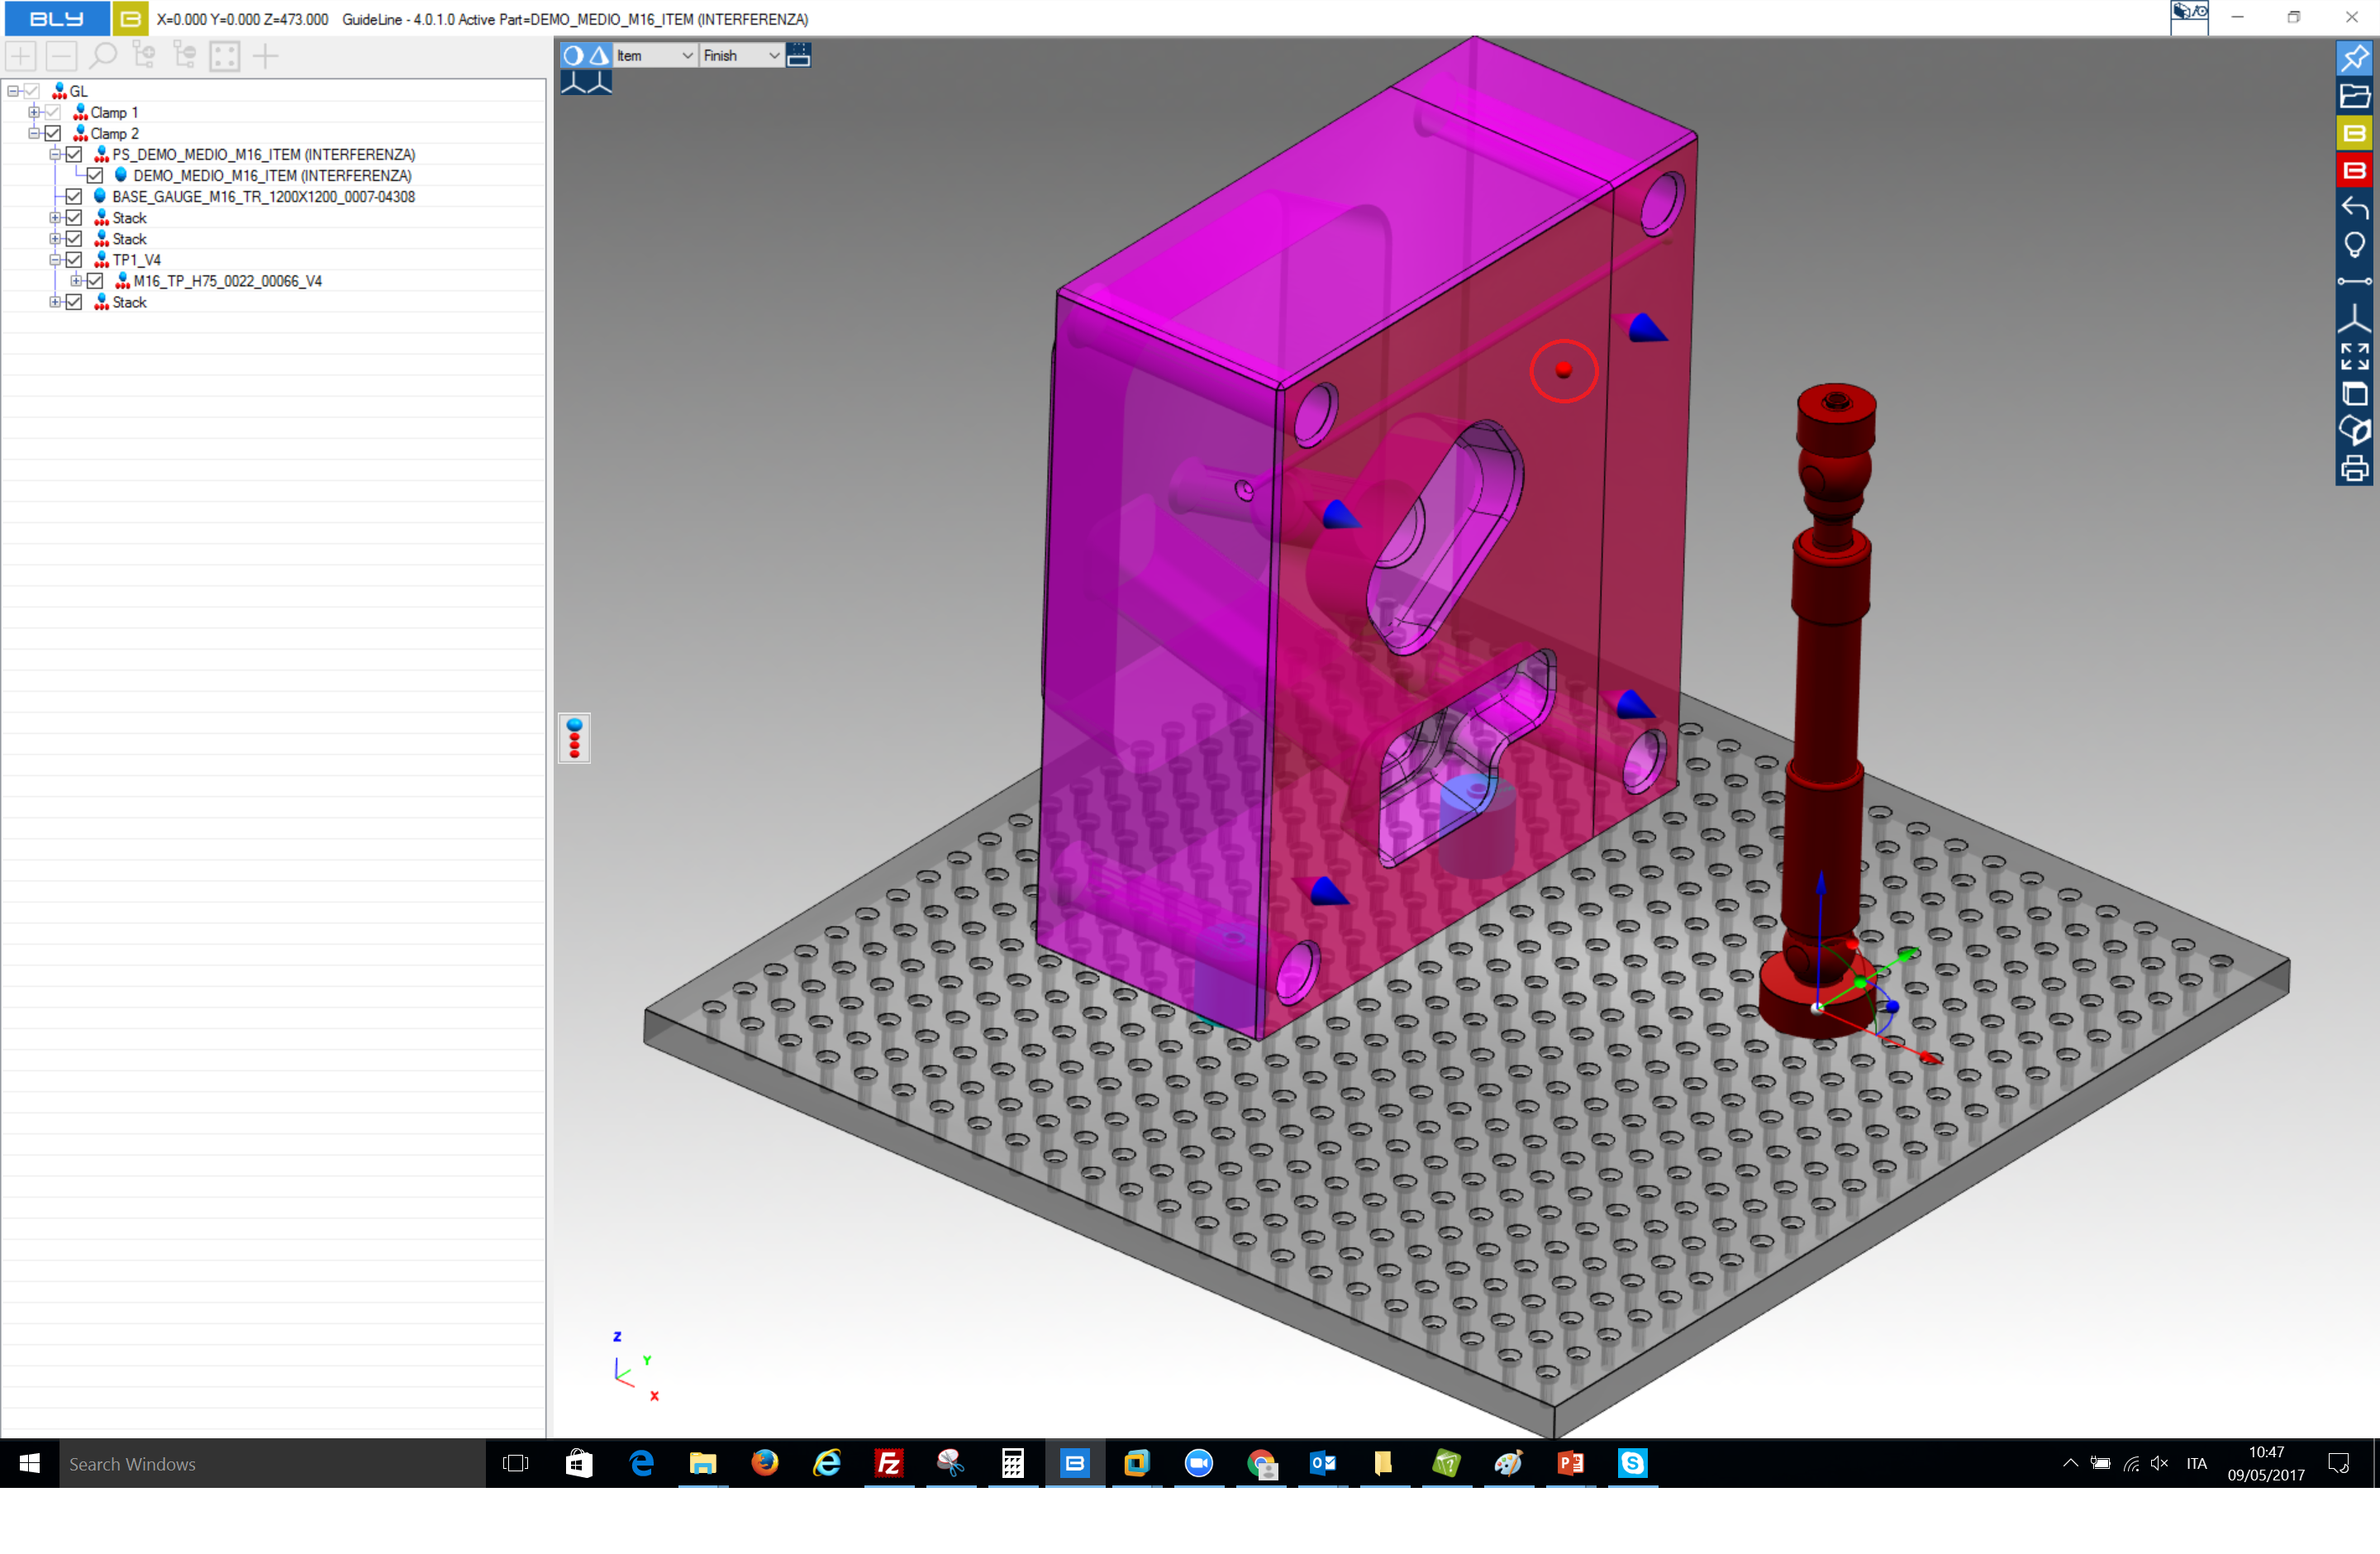
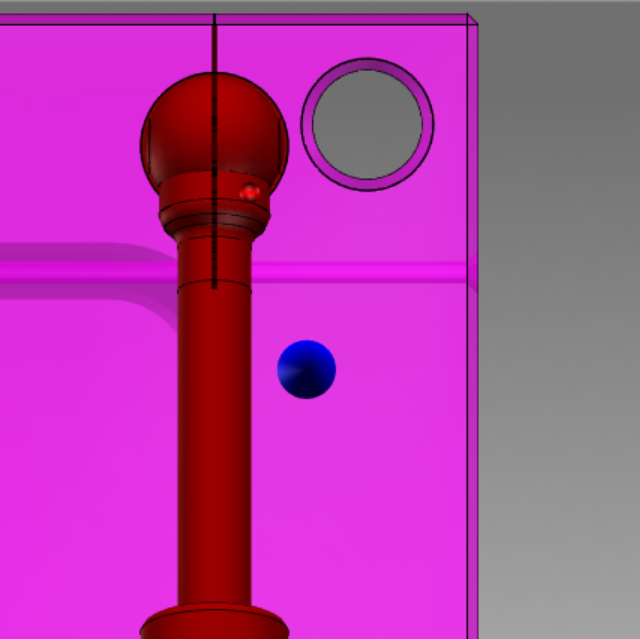
While the arm is selected, the placement face is highlighted: overing on it, a small red dot is displayed. Clicking on the face will anchor the arm and create a new FCS seat.
It is very common to use as anchor point a seat already defined for another clamp: Guideline shows the available seats with a blu cone (see picture). Selecting one of the cones attach the arm to it, without creating additional seats.
Guideline checks that the inherited seats are dimensionally compatible with the arm inserted and do not displays the cones if the dimensional check is not passed.
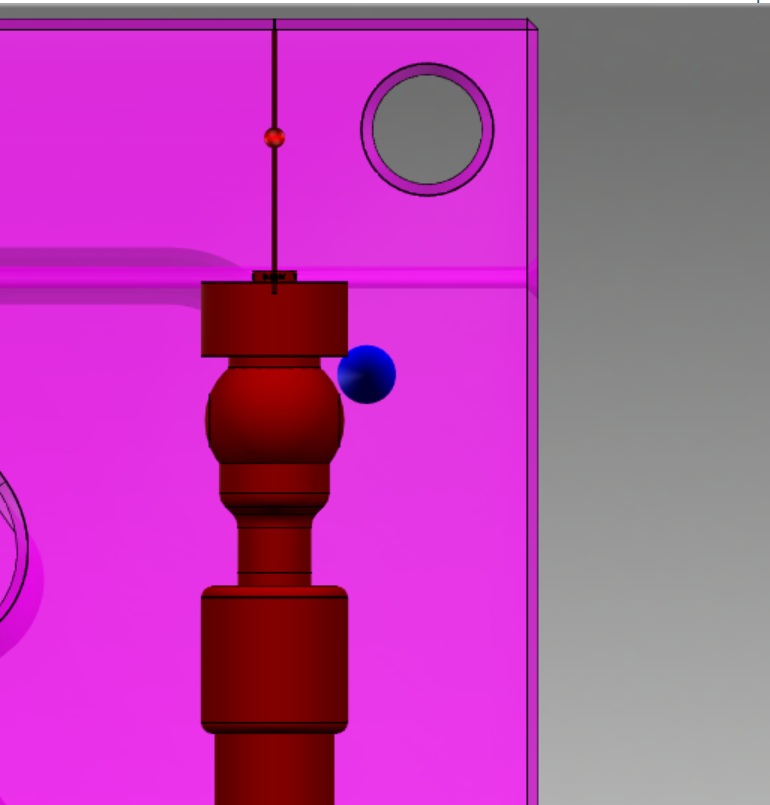
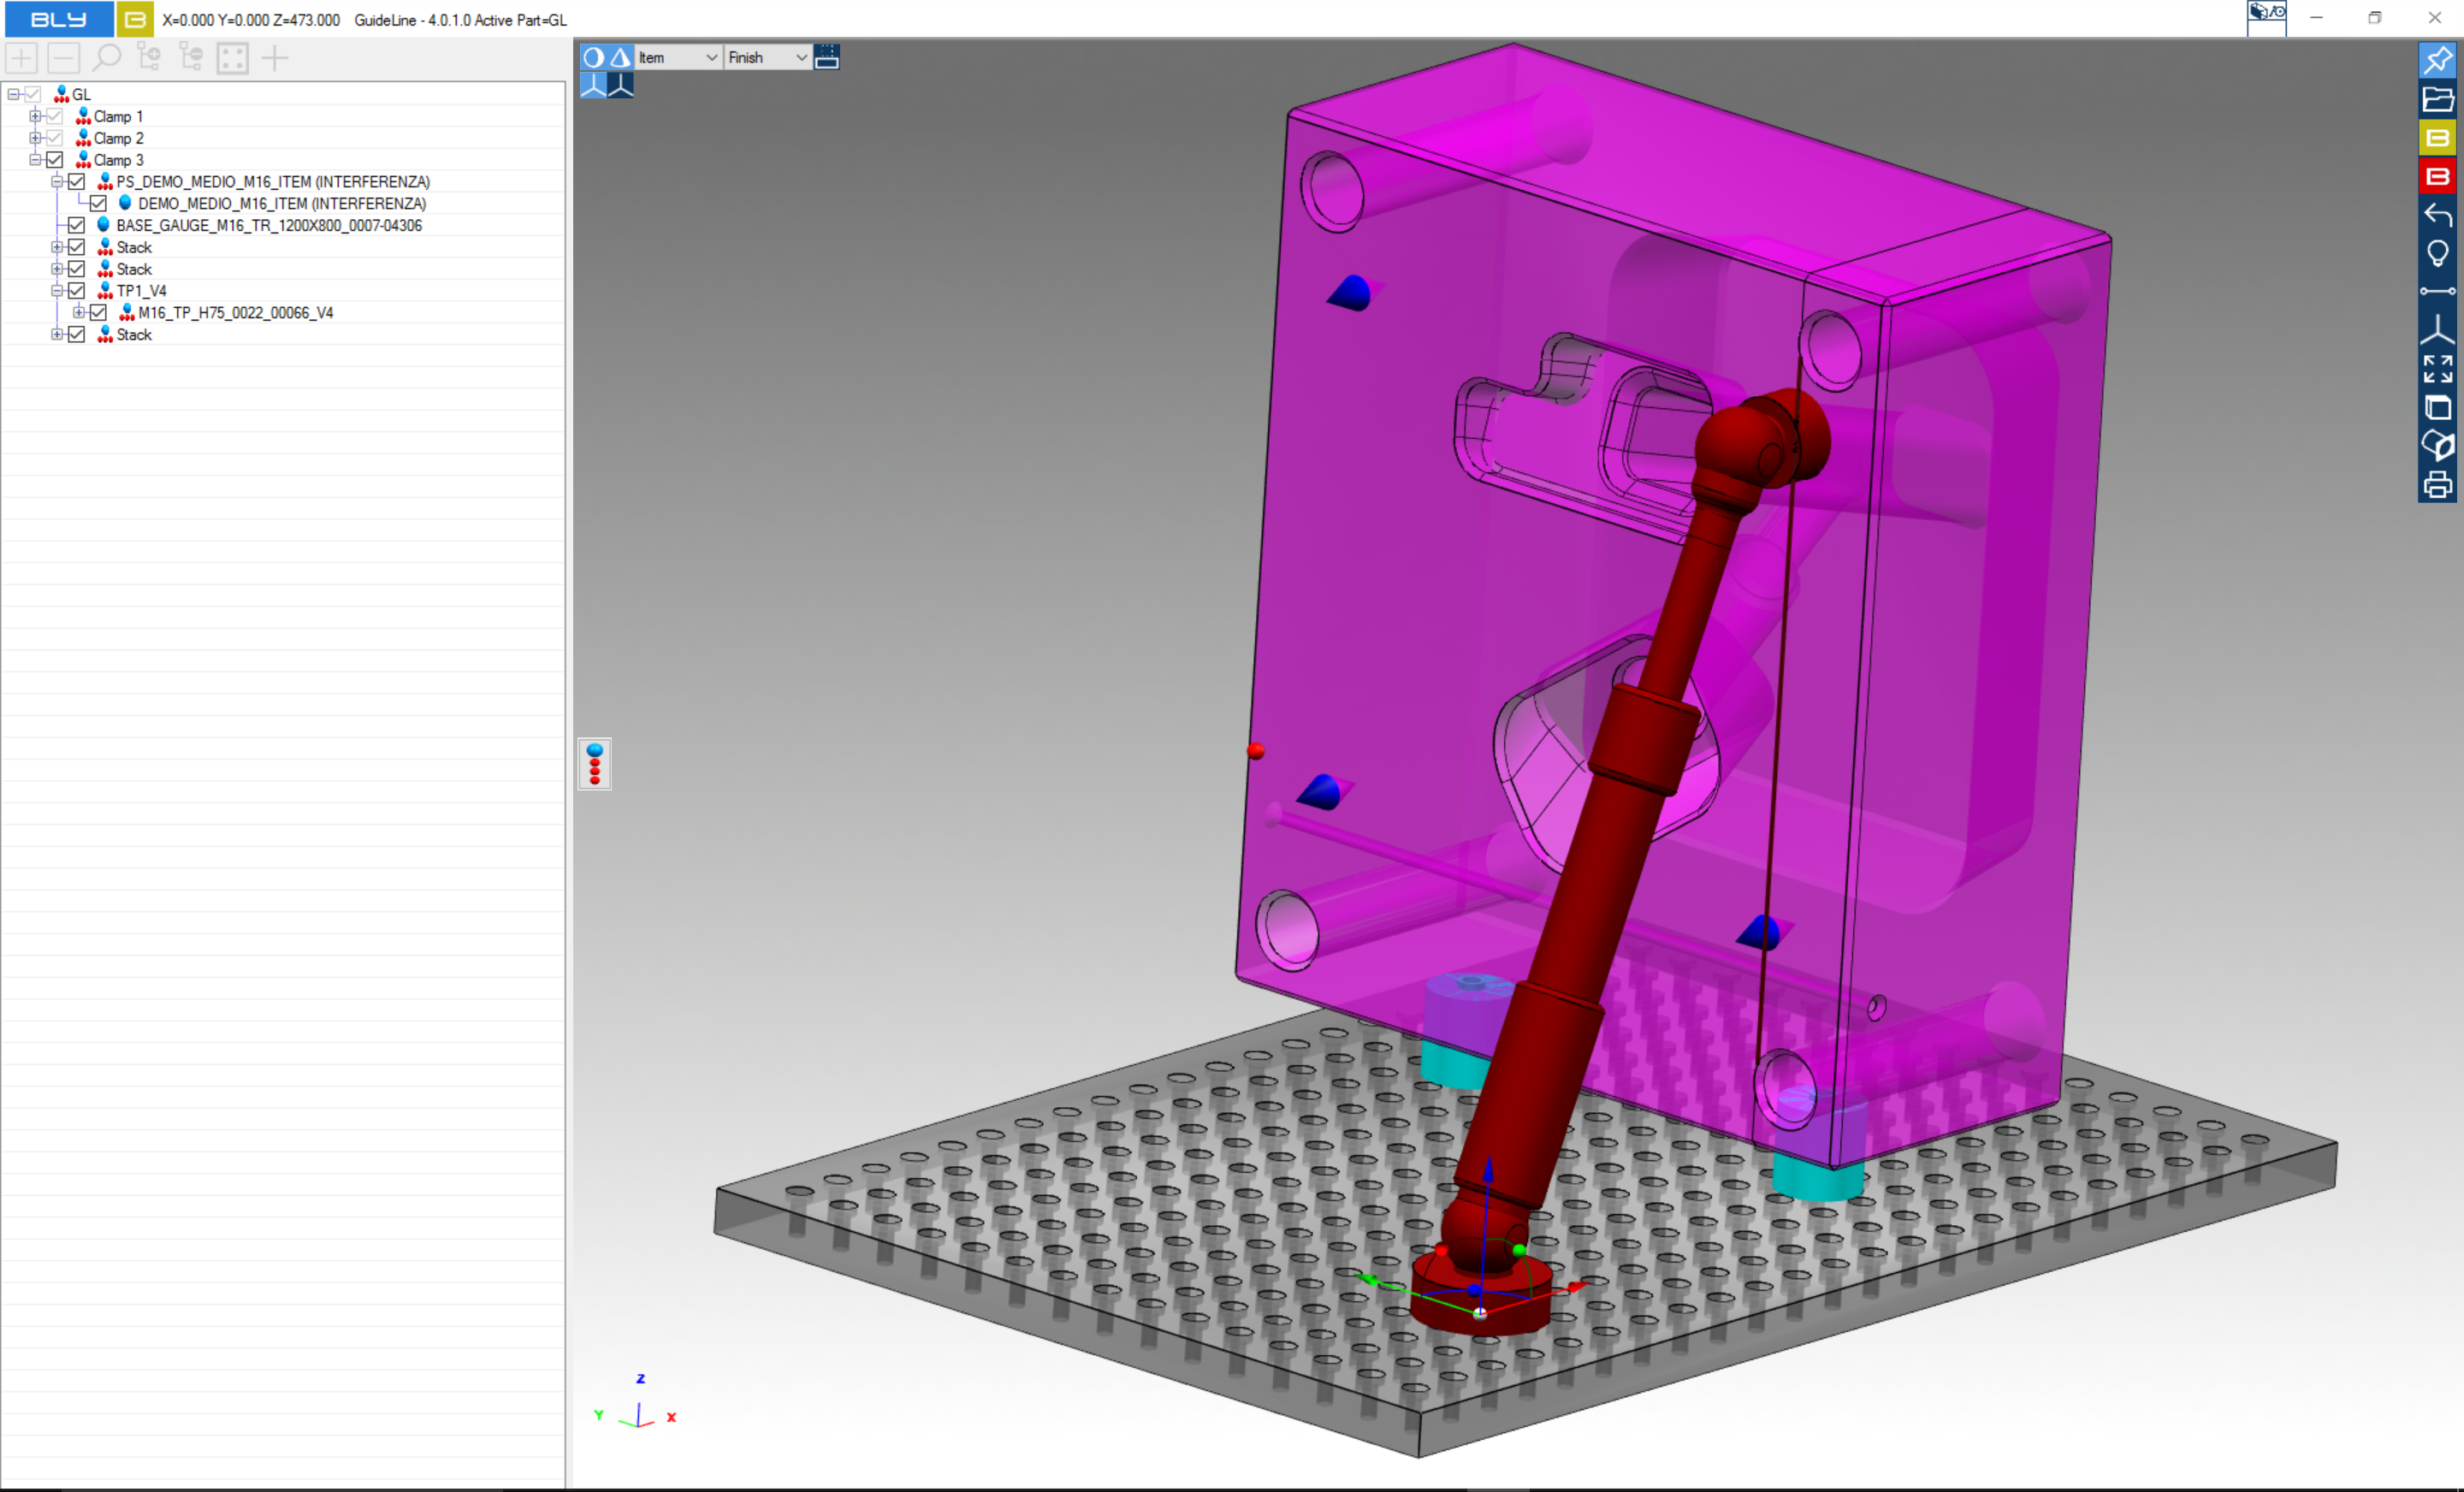
Most of the times, it is desired to have the arm straight on the projected plane: to help the user define or verify this condition, a line is projected on the placement face.
The anchor dot snaps on it, making easy to select it and place the arm straight
The arm can be attached to the cones in Phase 2, using a seat previously defined for another clamp (typically horizontal).
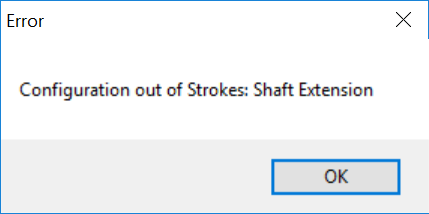
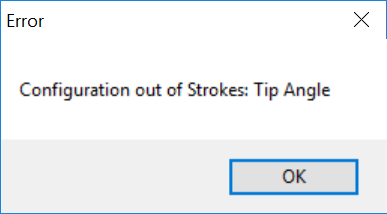
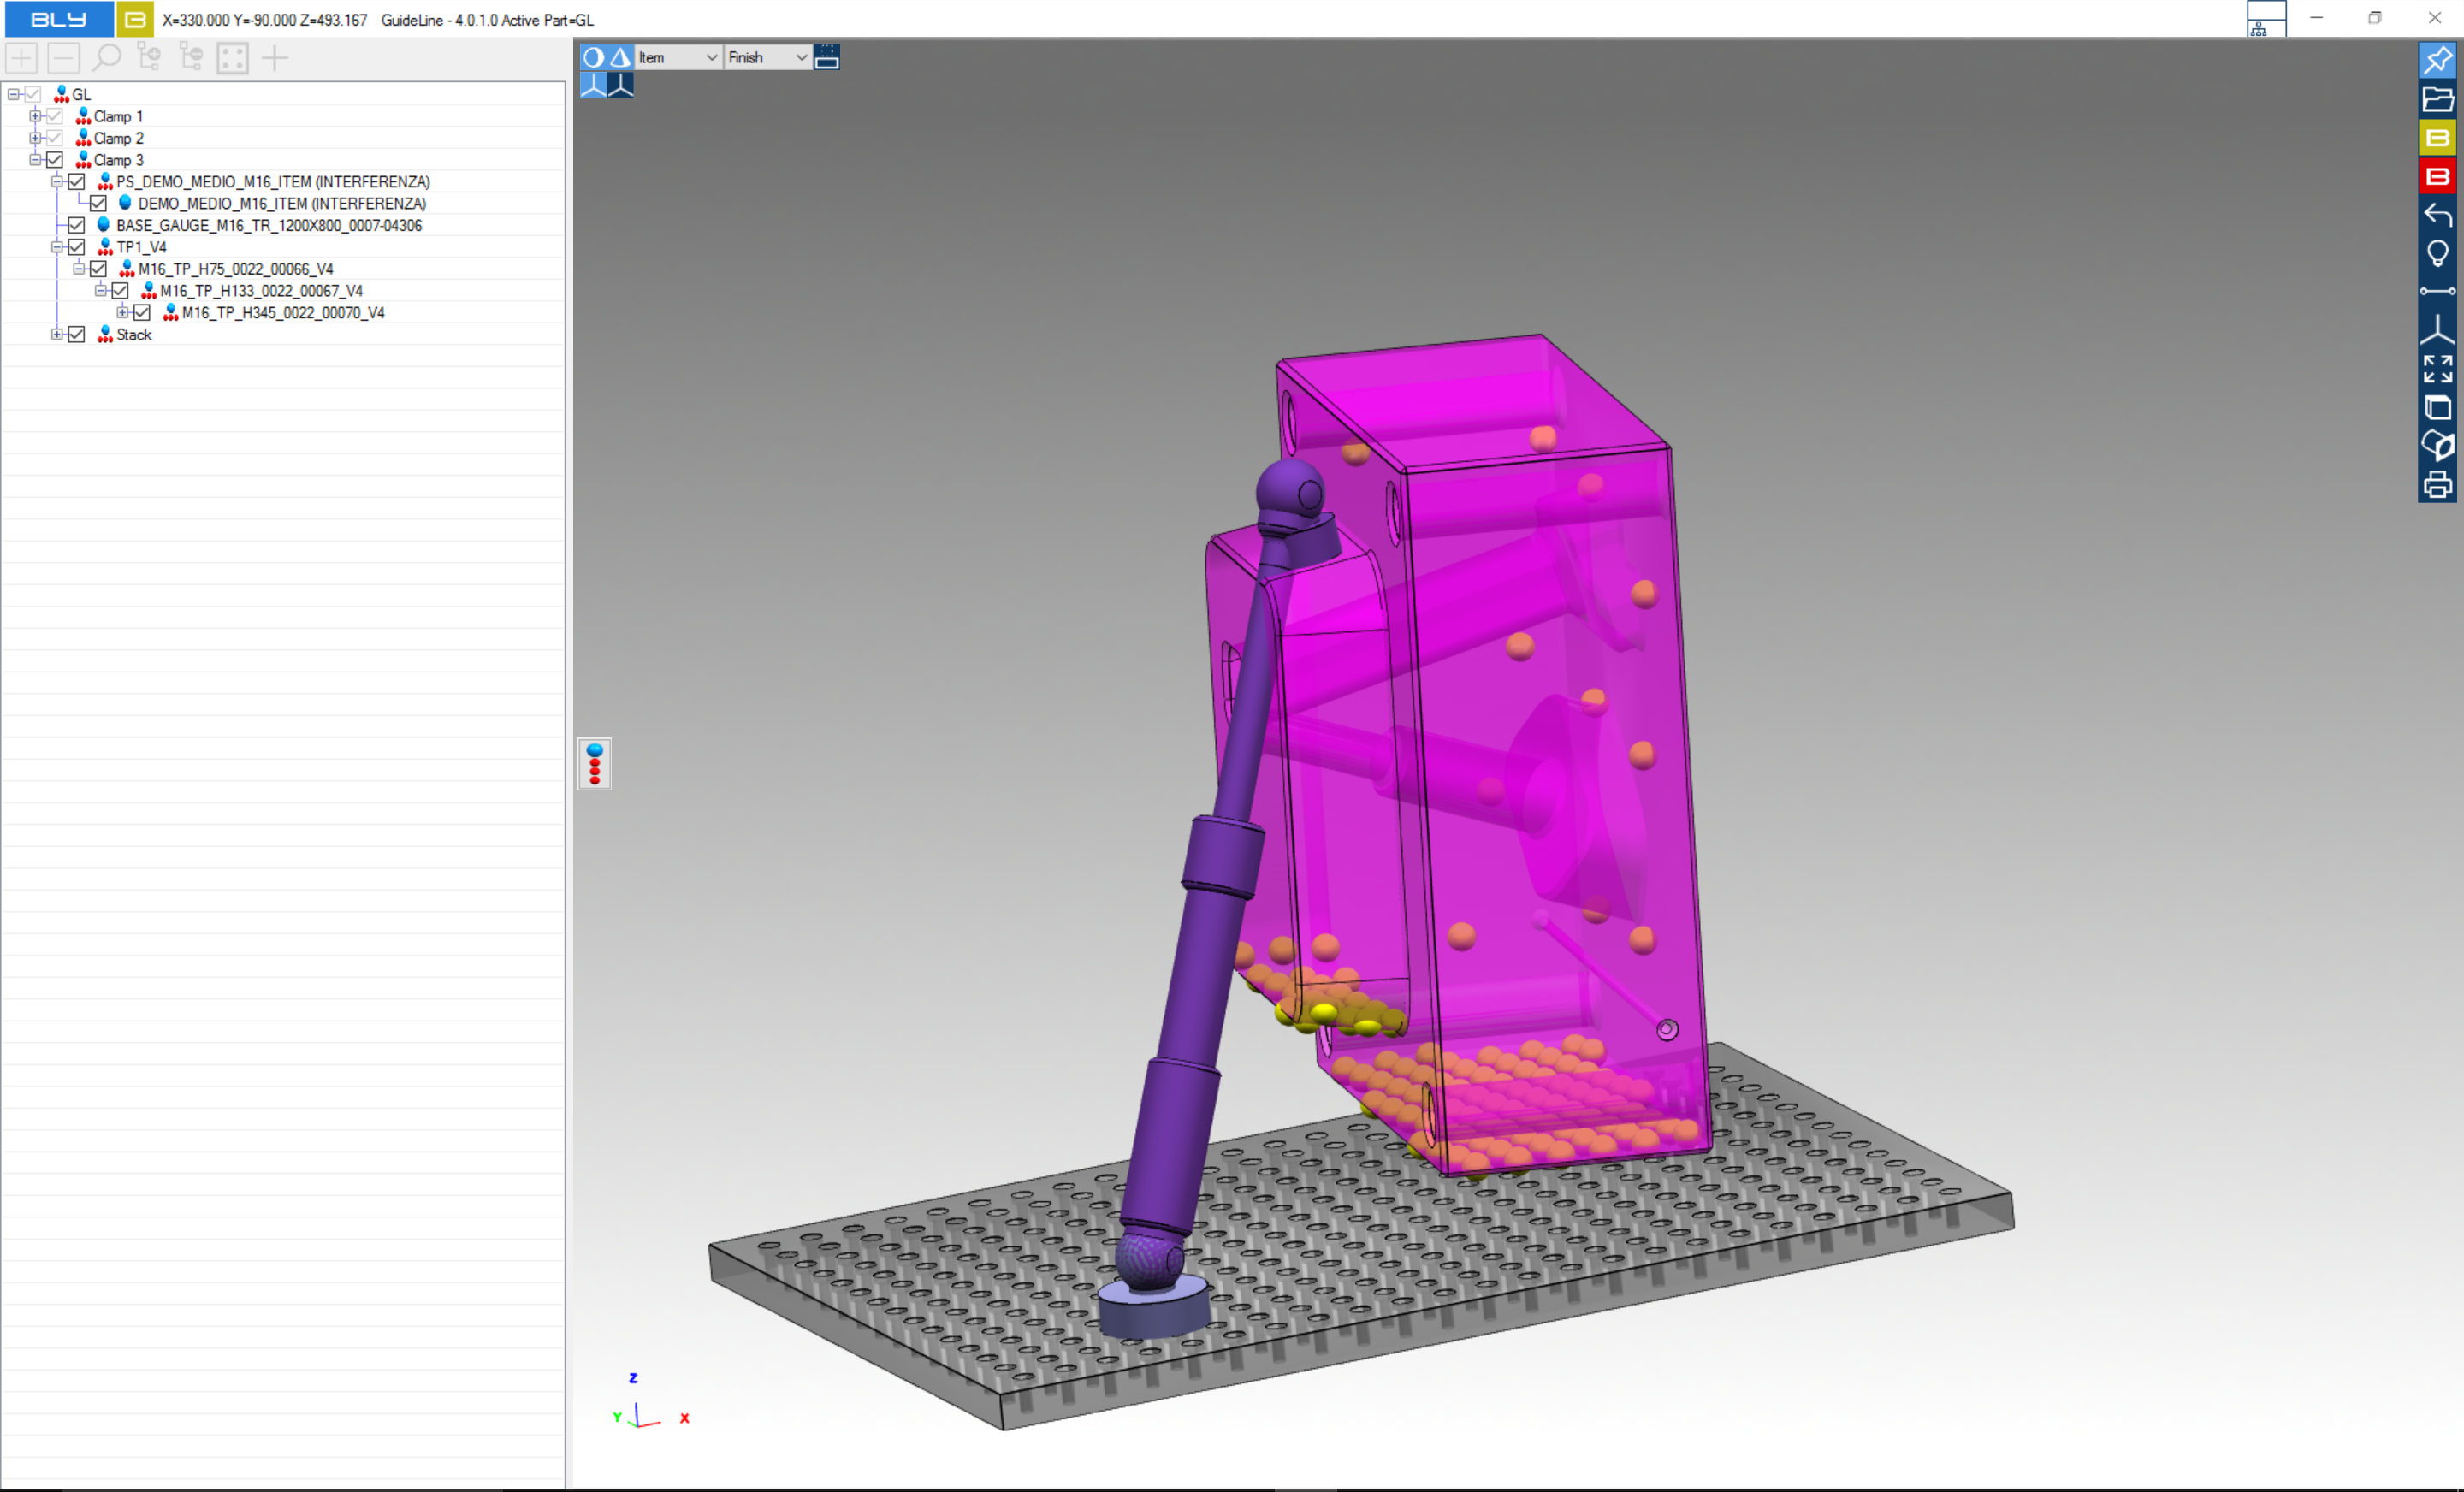
Should the arm placement being not correctly defined in regards to travel and tip angle, Guideline display an error message before attaching the arm and then will place the arm: this way, it is better understandable by the user what the problem is and he can take the corrective actions more easily.